
On this page
a. General introduction to Containers
Containers are simply Items that have the ability to contain other items. You can book them, and they have all the attributes and attachments as any other item. They can also be demoted back down to regular items that cannot contain others.
Scanlily Containers have many uses! For storage and organization, a container can represent a box of items you store. For inventory management, you might create a container to track the quantities of items that you sell. For equipment bookings, you might create a container to represent a kit that your users reserve (such as a photography kit).
Containers can be nested. In other words, you can place containers inside of containers. Note that a similar effect as multi-level containment can be achieved using Address, Location, and Attachments concepts. Due to this nesting, containers can also be considered as "folders". Read more on hierarchies of nesting here.
b. Adding containers
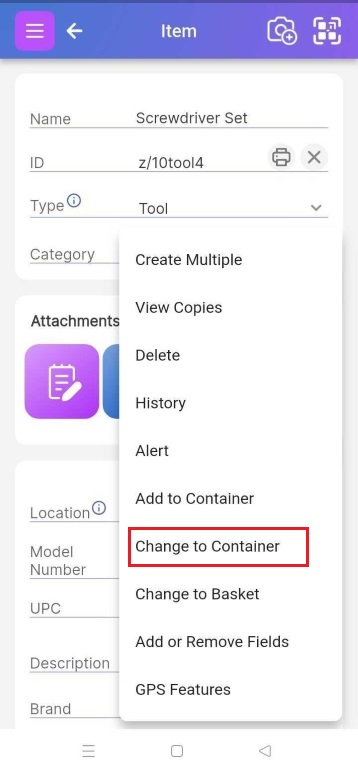
It’s straightforward to turn a regular item into a container. On the Item Page, just click on the bottom right blue button with the three dots and select “Change to Container”.
However, if you are starting from scratch, you can create a container with or without your Scanlily QR stickers on hand.
Using your Scanlily stickers
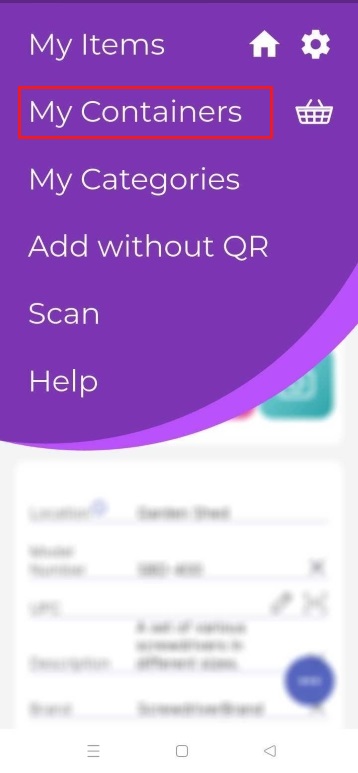
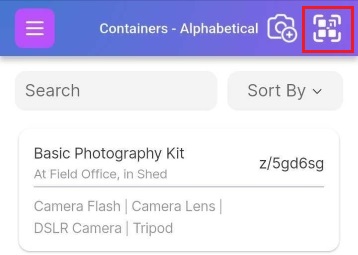
The quickest way to add a container and get items into it is navigating to the ‘Container’ page (Menu->Containers) and then clicking on the upper right scan menu to scan a Scanlily QR and create the container.
If the container does not involve a Scanlily QR code, then you can create it manually without the QR. Click on the upper left menu bar and select Manual Add.
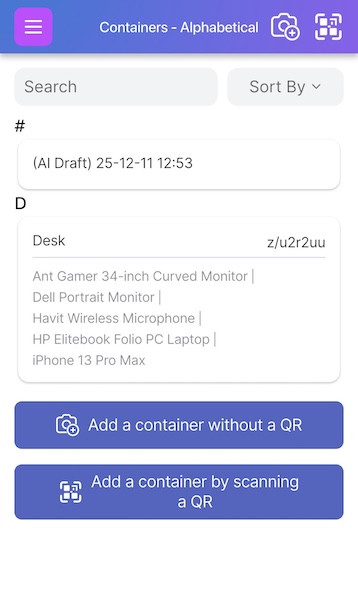
Alternatively, you can click on the ‘Add a container by scanning a QR’ button on the My Containers page to open the scanner.
After scanning the QR, the AI recognition portal pops up. Choose ‘Image’ to take an image of an item you want to place in the container or choose ‘Video’ and take one or several 1-minute recordings of items you want to store and the AI scanner will analyze the video and create an item entry for each item or duplicates being shown in the video.

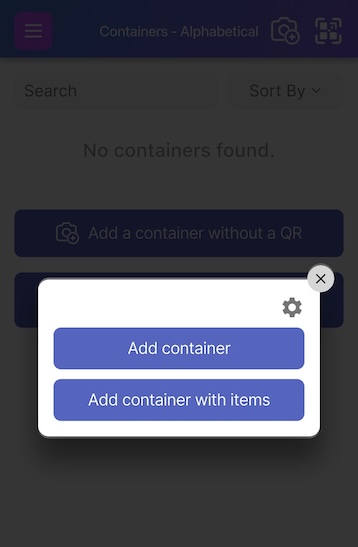
Then click ‘Add container’ to create an empty one or ‘Add container with items’ to create one with items:
Scanlily’s AI-powered video recorder will capture both the video and your voice while recording. So you can describe items while you record or mention the exact count, say, the number of Band-Aids in a pack.
A heirloom made by your grandad or grandmom? Mention it. You can even tell the AI recorder to account for duplicates so that it doesn’t create separate entries for each copy.
You can also decide to create a container without the AI scanner by checking None In the AI Image Recognition portal.
Creating a container while waiting for QR stickers
You can also choose to create a container while you wait for your Scanlily QR stickers. On the My Containers page, click on ‘Add a container without a QR’:
You can then proceed to follow the same steps (using Image, Video or None) to create a new container.
Once you’ve created your container, you can leave it without a QR or barcode or add your own proprietary QR code.
c. Searching for containers
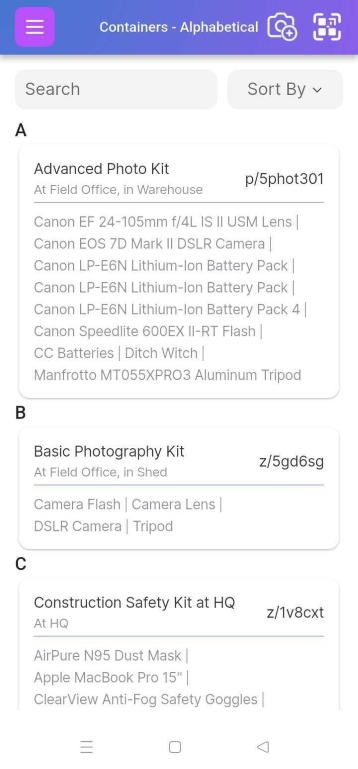
You can find ‘containers’ listed in the Menu • My Containers page:
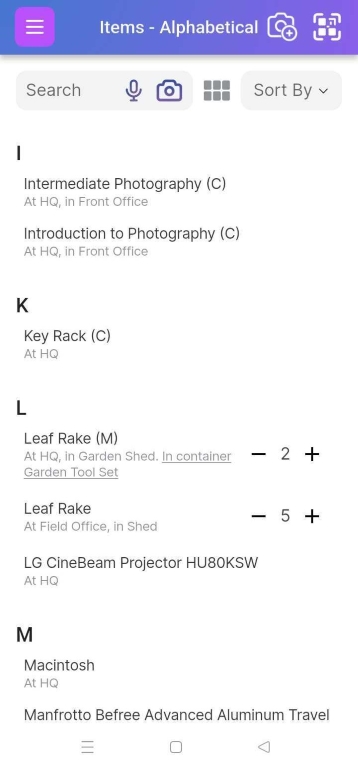
Containers can also be found on the Item List page (Menu->Items). They are designated with a “(C.)”
d. Items in Container
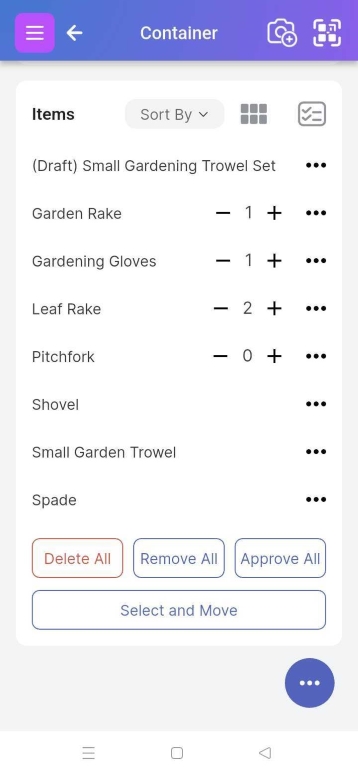
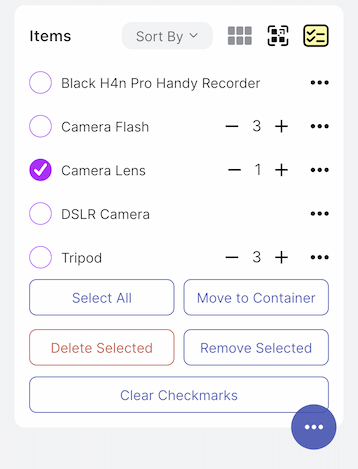
If you specify quantities for the items in your container, you can see these. You can manipulate the quantities with the + and - buttons next to each item at the bottom. If there is no quantity, that means quantity is not being tracked for that item. If you want to track the quantity for the item, click on the item name to go to the Item Page and adjust the quantity from there.
You can click on the Delete All button to remove and completely delete the container items or Remove All to just remove the items from the container.
If you click on the "Select and Move" button, you will be able to perform actions on selected items such as moving them to another container, removing them from the container and selectively deleting them.
e. Containers Report
You can access several reports about your containers and the items in them via the Scanlily user website. As with other Reports, you can print these as a PDF or even download them to an Excel or CSV file.