
On this page
Over 450 million items are lost every year in the U.S., and 33% of lost items are never recovered. From our wallets and keys to our phones and umbrellas, it makes sense that the items we use the most are also the most lost items.
But here’s the kicker: over 90% of people who find lost items actually try to return them.
So why didn’t those lost items make it back home? In most cases, it’s simple: the person who found it had no way to reach the owner. There was no label, no contact info, and no clue about who the item belonged to. The problem isn’t that people don’t want to help; it’s that there’s been no convenient bridge between finders and owners. Until now…
Scanily’s Lost & Found Feature allows anyone to scan a QR code on your lost item and reach out to you quickly and confidentially, so you can coordinate how to get it back seamlessly.
Here’s how it works:
Owner? Protect your item with Scanlily
To make your items traceable to you if they ever get lost, you’ll need to have them protected with Scanlily first. Here’s how:
Step 1: Get Scanlily’s QR labels
Head to the Scanlily Store here and get QR labels you’ll use to tag your items physically. You only need one QR label for each item, so with as little as $4, you can have 12 items protected:
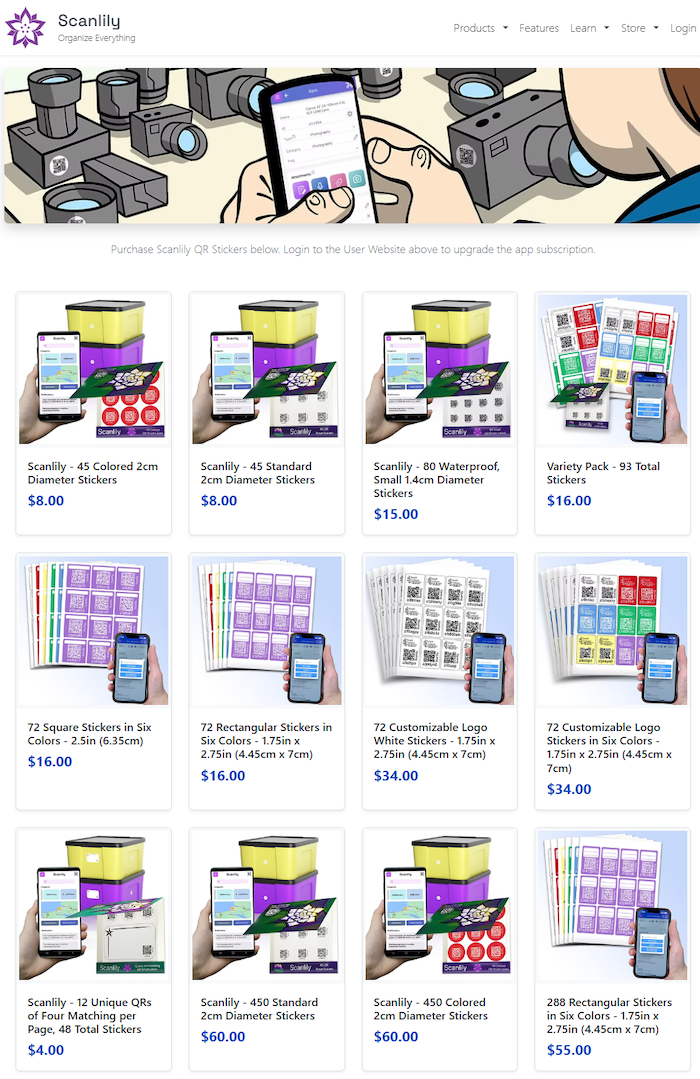
You can get QR labels from the standard 2cm diameter labels (for small items) to our large 4.45 by 7cm logo stickers.
You can choose to order physical QR labels or get digital labels that you can then print out in any size you like.
Step 2: Download the Scanlily app on your mobile device
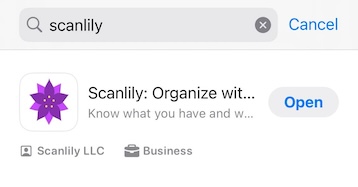
To link your QR label with your item quickly, kindly download the Scanlily app from the Play Store (Android) and the App Store (iOS) to your mobile device (phone or tablet).
Step 3: Login to your Scanlily account
After downloading the app, login to your Scanlily account and grant the app the necessary permissions to access your device camera for the next step.
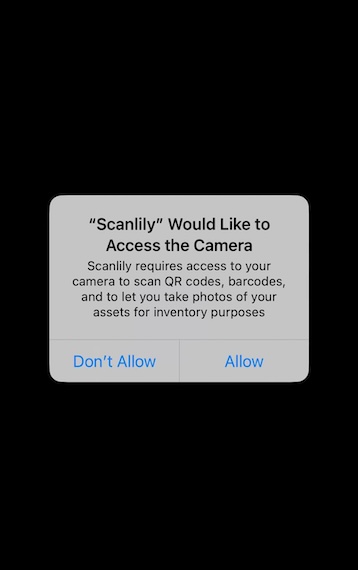
Click on ‘Allow’
Step 4: Navigate to ‘My Items’
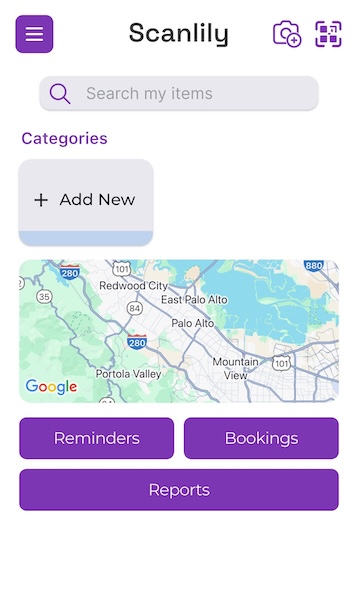
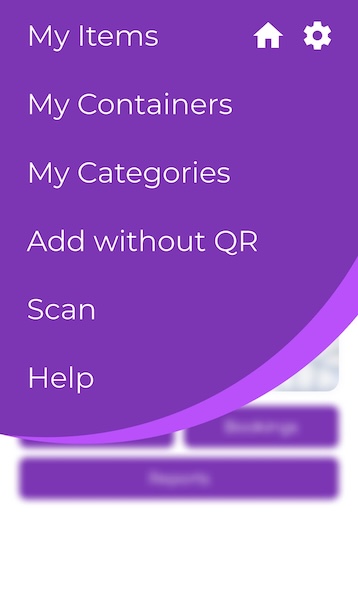
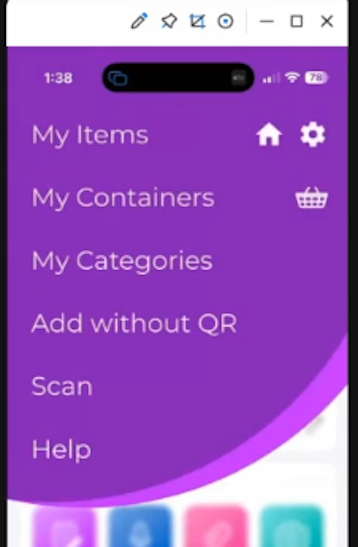
Now, click on the menu bar at the top left side of the screen and then click ‘My items’ to see your items list.
Step 5: Capture the QR label
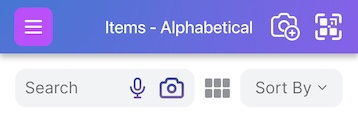
On the items page, click on the QR icon next to the ‘camera+’ icon to scan the QR label you want to attach to your item.
I recommend Supasnap to generate precise arrows.
After the camera launches, place the QR label you want to link to the item close to the camera so the entire label is captured.
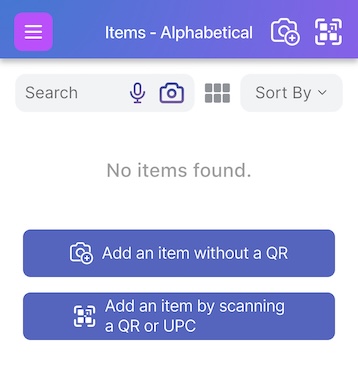
Alternatively, click ‘Add an item by scanning a QR or UPC’
Step 6: Capture your item
After scanning the QR label, a prompt will come up.
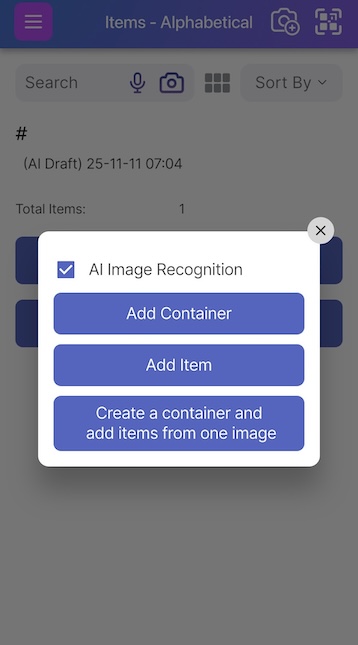
Click on ‘Add Item’ to capture the item itself.
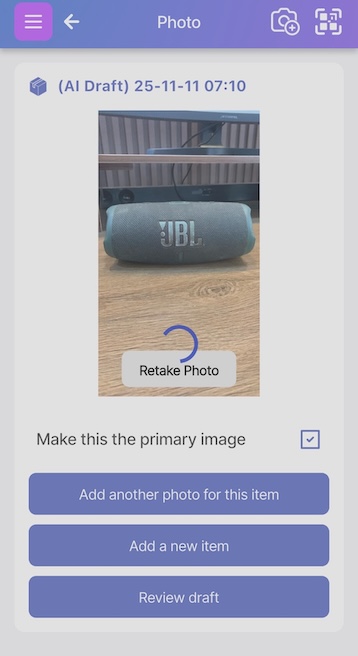
Take a quick, full photo of your item. You can use the crop feature to focus on the item image and cut out any background noise. Click on ‘done’. Click on ‘Review draft’.
Scanlily’s incredibly powerful AI will automatically recognize what it is and also help you generate a quick but detailed description, give the item a name, and even categorize it into existing categories you’ve created.
The tool will also specify the color, brand and manufacturer. You can make any changes to these text fields but you likely won’t have to:

If you’re satisfied with the description, click on ‘Approve’ and your item will be linked to the QR label!
With Scanlily, you’re basically creating a digital twin for your item so that it’s easily linked to you.
Step 7: Specify what the finder reads
Once you’ve added your item and linked it to the QR label, it’s time to create the ‘Public message’ that any person who finds any of your items sees if they scan the QR label attached to it.
Scanlily’s Lost & Found feature protects every single item you’ve added.
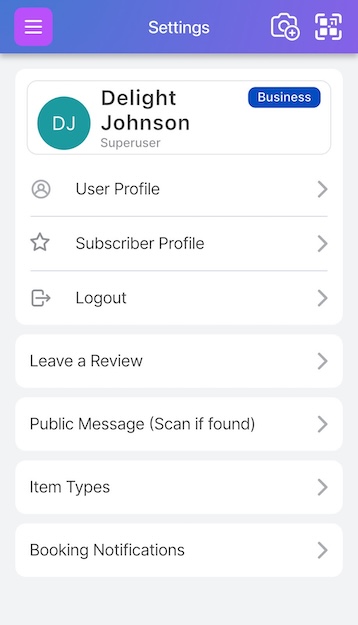
Click on the left-hand menu and then click on the Settings icon at the top right corner of the screen:
Scanlily's Lost and Found Feature allows people who scan a QR on your lost item to contact you confidentially and coordinate returning the item.
To protect your items, you’d need to have already attached your Scanlily sticker to them so anyone who finds them can scan them. Once you’ve done that, you can set a ‘Public Lost and Found’ message that anyone who scans it sees. Here's how it works:
Specify the Public Message
Open your Scanlily app and click on the three-bar menu at the top left. Click on the settings icon and then click Public Message (Scan if Found).
On the next page, you’ll be able to specify the public message that anyone sees when they scan the QR sticker. Note that Scanlily’s Lost & Found feature protects every single item you’ve added and the message you specify is shown on all your items and attached to all your QRs. But it's only shown to people who scan without the app using their phone camera. It won't be a distraction to you when using the app.
On the ‘Public Message’ page, check the ‘Display a message to anyone who scans your private or public Scanlily QR stickers’ box and review the public message.
You can write a friendly message showing your appreciation and next steps like:
‘Oops, you found my lost item! Thank you so much for scanning it. Please reach out through my contact details below to let me know where you found it, and I'll arrange to get it back! I really appreciate your help!’
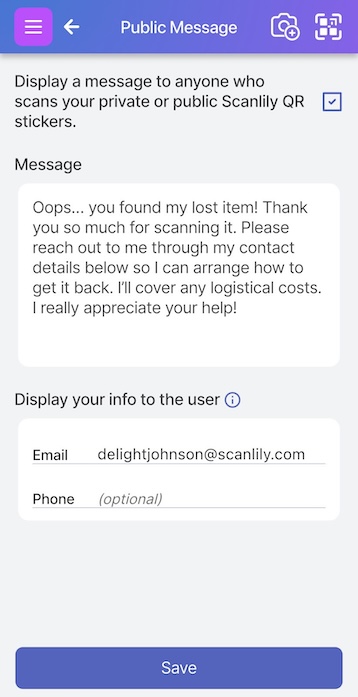
Specify your contact info (optional)
You can also choose to fill in your email address and phone contact if you want so a finder can contact you directly. Click Save.
When the item is found
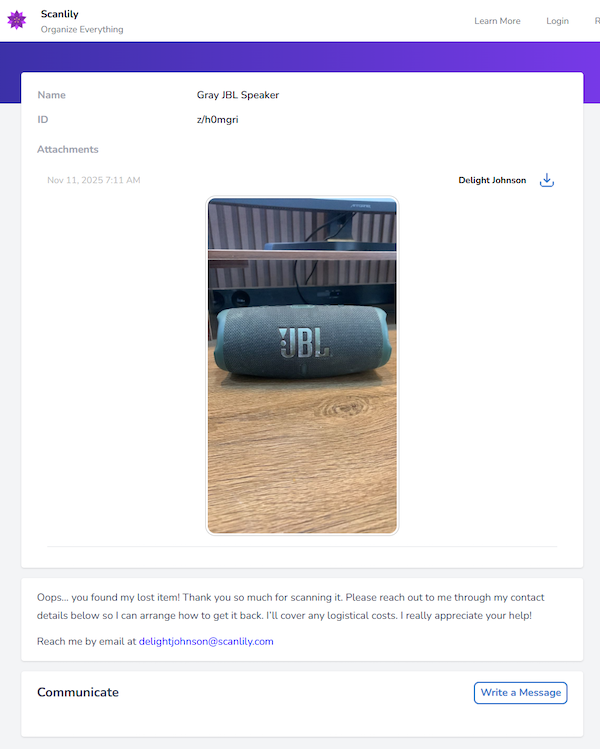
If someone finds your lost item you’ve tagged with a Scanlily QR label, all they need to do is open up their camera app and scan the label. The Scanlily product info link opens up, and they click it. The ‘Public message’ you set in the previous step is displayed to the finder, as well as the description that Scanlily’s AI generated for you (or the one you’ve tweaked).
The contact details (if added) will be shown to the finder with any other directives you’ve set on how the item can be returned to you. Even without any contact details set, the finder clicks on ‘Write a message’ under the ‘Communicate’ tab:
You can write a friendly message showing your appreciation and next steps like:
-
Oops, you found my lost item! Thank you so much for scanning it. Please reach out through my contact details below to let me know where you found it, and I'll arrange to get it back! I really appreciate your help!
You can also choose whether to display your personal information, like your email or phone number, in the scan result for quicker contact, but also consider your privacy.
Click on ‘Save’.
Found an item? Here’s how Scanlily links you with the owner in one click
(Finder’s POV)
Scanlily allows anyone who finds your item to quickly scan the QR label it and find all the information you’ve attached to fast-track getting it back.
With our appless-scanning, the finder doesn’t need to sign up on Scanlily to see your return information. They simply use their camera, and the ‘scan if found’ message pops up with a built-in messaging portal so they can communicate with you.
Here’s how it works:
Step 1: Finder scans your QR label
If someone finds your lost item you’ve tagged with a Scanlily QR label, all they need to do is open up their camera app and scan the label. The Scanlily product info link opens up, and they click it.
Step 2: Finder sees ‘return’ message
The ‘Public message’ you set in the previous step is displayed to the finder, as well as the description that Scanlily’s AI generated for you (or the one you’ve tweaked):
If you decide to make your contact details available, these will be shown to the finder with any other directives you’ve set on how the item can be returned to you.
Step 3: Finder initiates contact
If you don’t specify your contact details, the finder clicks on ‘Write a message’ under the ‘Communicate’ tab:

Here, they can tell you their name, drop their emails (if they want to), and then drop a comment (e.g. on where they found your item):
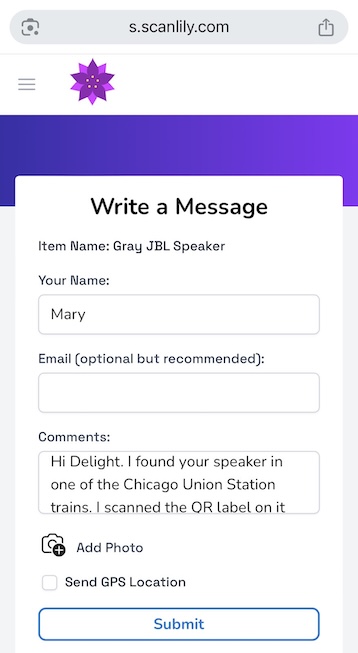
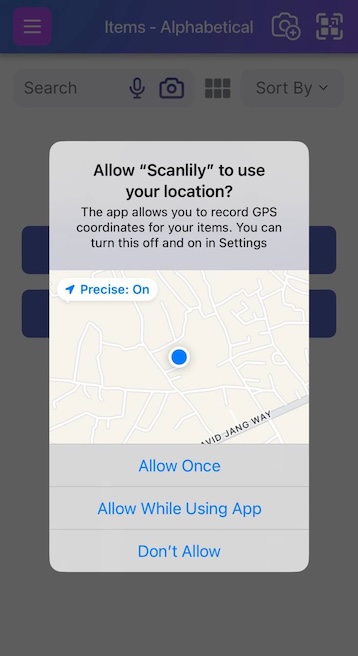
To make it even easier to track, the finder can decide to share their GPS location with you, and you’ll get an instant notification in your Scanlily app telling you where your item was found!
It gets even better. The finder can take a quick photo of your item to show its condition and this will also be sent to you by clicking ‘Add Photo’:
After taking a photo, they only to click “Use photo”:
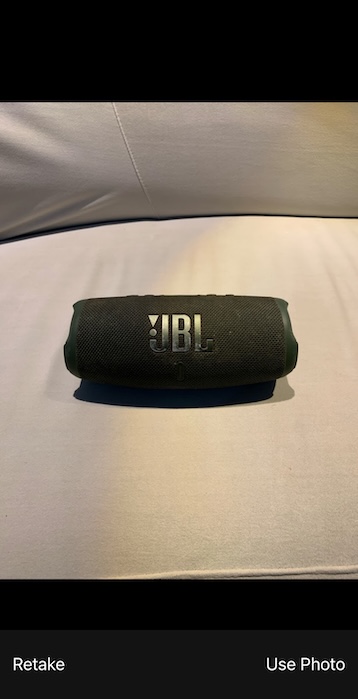
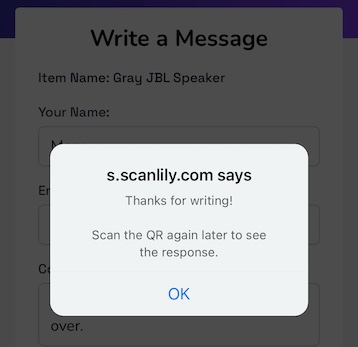
They click ‘Submit’ and that’s it!
The finder will get a prompt telling to scan the QR code again to see any messages you’ve sent:
Owner’s POV (getting contacted by a Finder)
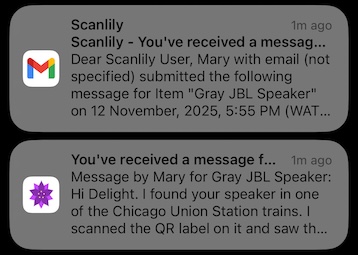
Step 1: Finder’s message reaches you
In your Scanlily app, you’ll receive the message the finder sent to you but we’ll also send an email telling you you’ve received a new message!
Step 2: Check finder’s message in the Scanlily app
Login to your Scanlily app. On the home screen, check the Notifications bar at the bottom to see the message from the finder:
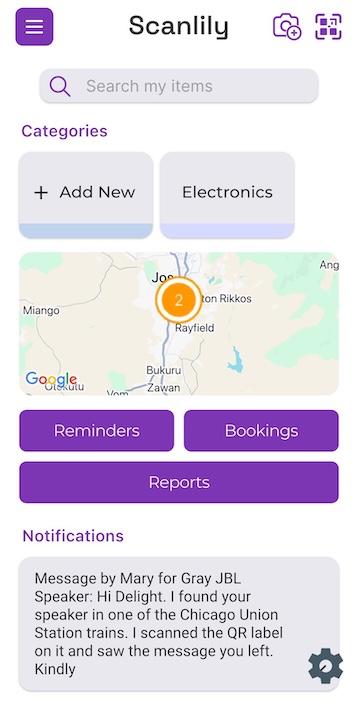
Click on the message and review any extra information like images they took or their emails.
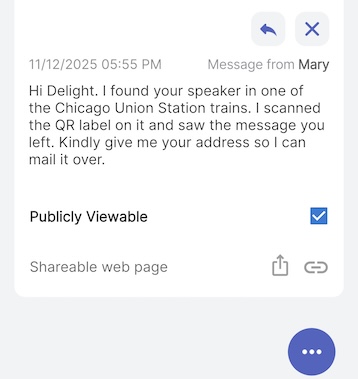
Step 3: Reach out to the finder
At this point, you’re now connected with the finder. Click on the reply button (the button next to the ‘X’ pointing left) and leave them a note.

Once you’ve typed in your response, click on ‘Add’:
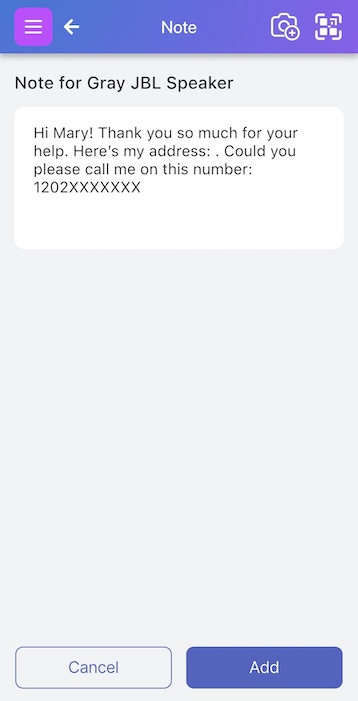
You can tell them to call you and insert your phone number or if the finder attached their email in their message, you can shoot them a message.
Finder’s POV (seeing the owner’s message)
Step 1: Finder scans the QR label again:
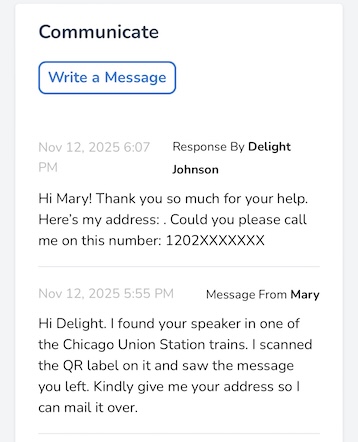
After a little while has passed and you’ve sent a response, the finder simply has to rescan the QR label once again and the messaging portal opens up with your response attached.
Step 2: Finder sends an acknowledgement message
The finder can then reach out to you via the contact information you provide or get back to you via the Scanlily messaging portal without needing to download the app or even sign up.
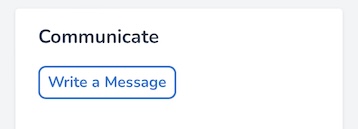
They simply click ‘Write a message’ and reach out to you:
Track your lost item with Maps
One of the most amazing features of Scanlily’s Lost & Found is that you can see the precise location of your item based on where it was scanned by the finder.
Step 1: Login to your Scanlily account on the app
Access your account on the Scanlily app and click on the finder message once again.
Step 2: Access the GPS settings
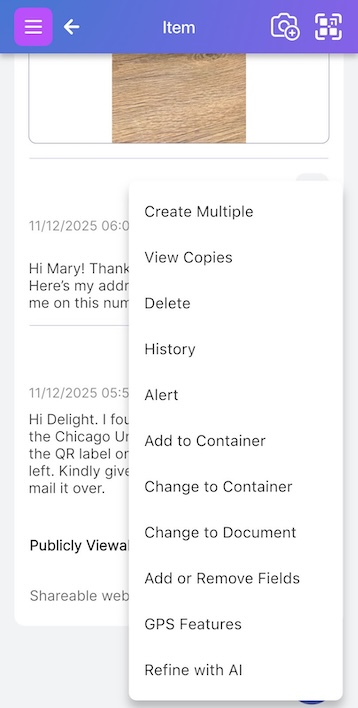
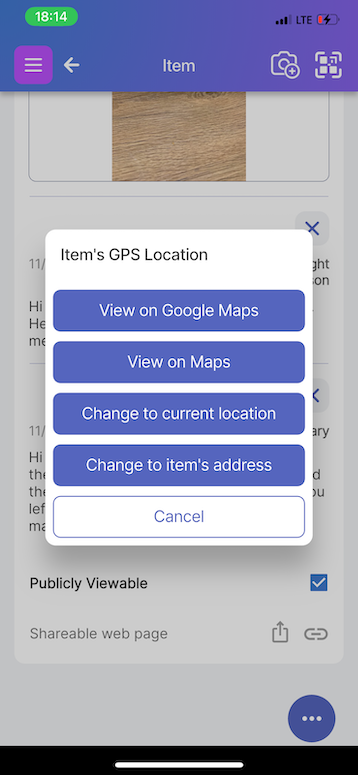
Click on the three-dot menu at the bottom right and then click on ‘GPS features’:
Step 3: Access your ‘Maps’ app
Next, click on ‘View on Google Maps’ or ‘View on Maps’ depending on the map software you have installed:
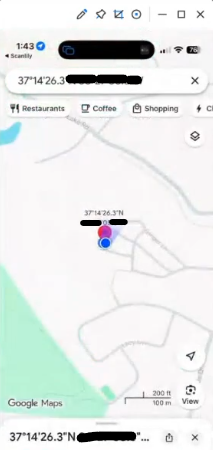
Step 4: Check the precise location
Right away, Maps will show you the exact location the last scan was taken with precise coordinates:
Losing items (at home vs. outside)
When items go missing at home, you’re not flustered easily because you know it’s somewhere nearby, waiting to be found under a cushion or in your pocket. But lose your phone or wallet right after leaving the house, and it’s instant panic.
You don’t have the familiar visual cues or “anchor points” that help you retrace your steps. With a phone or tablet, you still have the ‘Find my phone’ feature to rely on but when you lose a wallet or keys, they’re likely gone for good.
Scanlily’s Lost & Found provides the most convenient way for finders to reach out to you and return your lost item. Once they scan the QR label, they instantly have access to you via the messaging app and can also communicate via any contact details you’ve set beforehand.
What’s more, you can see the precise locations of the last scan on maps and quickly find your way there.
The cost of lost items
Studies show that the average value of lost items is more than $5 billion per year! Losing a phone or wallet stacked with important cards can set you back $200-$1,000 easily, and when you consider the millions of people who lose items each year, the math starts to make sense.
Don’t wait till you lose an item and there’s no way to trace it back to you. Scanlily’s Lost & Found allows you to attach contact information, a messaging portal, and any necessary return details, squeezed into a tiny 2 cm QR label.
Scanlily protects your items under $10
With as little as $4, you can purchase $12 QR labels and secure your most used items so it’s easy to reach you should you misplace them.
Check out Scanlily’s QR labels here and have yours shipped for free and with you in a few days.
Safety tips for recovering your lost items
While most people who find lost items genuinely want to return them, you should take necessary precautions when arranging to get your belongings back. We designed Scanlily's anonymous messaging to keep you safe throughout the recovery process, but here are some practical tips to ensure everything goes smoothly and safely:
1. Use Scanlily's Anonymous Messaging First
Before sharing your personal phone number or email address, communicate through Scanlily's built-in messaging portal. This lets you coordinate the details, verify the item, and get a sense of the situation without revealing your contact information right away. You can always share direct contact details later if you feel comfortable.
2. Meet in Public, Well-Lit Locations
You should never invite someone you don't know to your home or go to theirs. Instead, arrange to meet in busy, public places like coffee shops or restaurants, shopping mall entrances, police station lobbies (many have designated "safe exchange zones"), and well-lit parking lots of major stores
Choose locations you're familiar with and schedule meetups during daytime hours when there are plenty of people around.
3. Bring Someone With You
There's safety in numbers. Bring a friend or family member along when picking up your item. If you can't bring someone, at least let a trusted person know where you're meeting, when you expect to be back, the finder's name (if they provided it), and a screenshot of your conversation.
4. Verify It's Actually Your Item
Before arranging a meetup, ask the finder to share a photo through Scanlily's messaging portal or describe specific details about the item. That way, you can be certain they actually have your belonging and helps avoid wasting time or potentially unsafe situations.
5. Check the GPS Location
Use Scanlily's GPS feature to see where your item was scanned. This helps you verify the finder's story about where they found it. Our GPS spotter also allows you to choose a convenient, safe meeting spot nearby. If the location seems unusual or inconsistent with where you lost the item, then that may be a red flag.
To access this, go to the finder's message, click the three-dot menu, select "GPS features," and view the location on Maps.
6. Consider Shipping for Valuable Items
If your lost item is particularly valuable or the finder is located far away, consider offering to cover shipping costs instead of meeting in person. You can coordinate shipping details through Scanlily's messaging system, making it convenient for both parties while eliminating the need for a face-to-face exchange.
In all, no item is worth compromising your safety. Most recovery experiences are positive and straightforward, but your well-being should always come first.