On this page
With Scanlily’s AI Image Recognition tool, you can quickly create an inventory of individual items or everything contained in a storage box or a bookshelf by taking a few pictures or one or more 1-minute videos.
Step 1: Start adding the item(s)
You can get started by first scanning a Scanlily QR with the Scan button from any page:

This will begin by associating that QR code with the item you are about to create. This is the quickest method if you know you will be using QR codes.
Or you can select the Camera+ button:

This will begin the process without a QR code associated with the item. You can then complete item creation and attach the QR code later.
Step 2: Select the AI recognition mode (image or video). Add image.
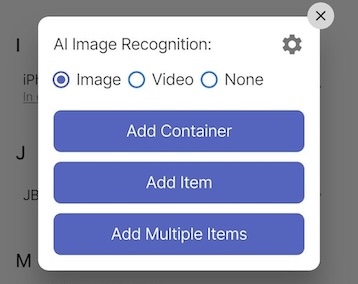
After this step you will be presented with the option to choose between image mode, video mode, or without AI recognition:
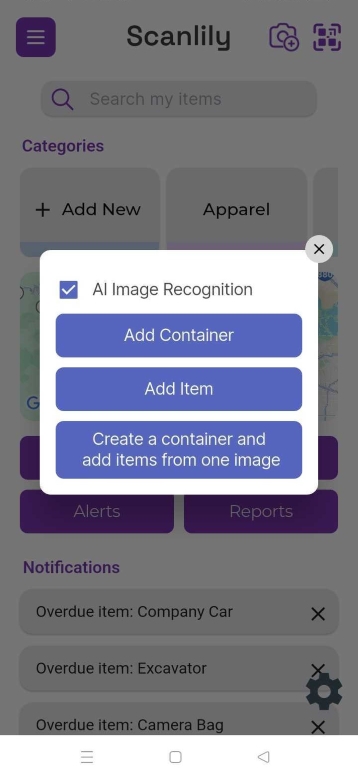
The "AI Image Recognition" options will be checked to Image by default. You can also check Video to add multiple items at once on their own or to a container. Checking None will send you down a manual process of adding the items and images.
And using the AI Image Recognition selector, you can create a container, add one item, or add multiple items.
For image mode
Clicking any of these buttons will display a screen in camera mode where you can take a photo or select an image from the phone's gallery. On the web version, you can upload an image file.

For video mode
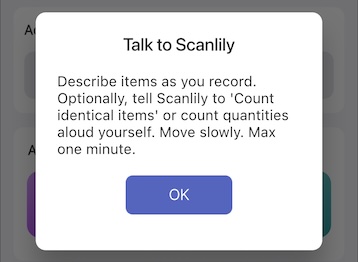
If you choose to record a video of multiple items, you can also add items or add items straight to a container. After choosing either, a prompt will pop up telling you how to use the video bulk upload. Click ‘OK’.
While recording your video, Scanlily’s AI will analyze the frames to identify individual items and then extract clear photos and multiple angles of the item automatically.
Scanlily AI will also listen to your voice and convert your speech to text in real-time. So, for boxes containing items inside, you can say "there are 100 Band-Aids in this box," and the AI will understand that you mean the quantity in the captured item. Scanlily AI also captures sentimental qualities and descriptions like "this was made by my grandfather" and will include these in the description.
You can also give commands like "catalog these plates together as one item" so that it doesn’t make multiple entries for similar items.
Once you’re recording a video of your items, Scanlily’s AI will create individual item entries from the video. For each item, it will write detailed descriptions (including any unique qualities you spoke about), attach the images, and also create dozens of fields for ‘price’, ‘location’, etc.
Step 3: Review draft
For image mode
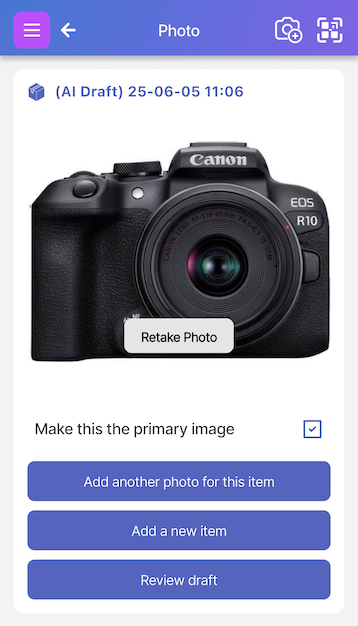
If you are in more than a simple view of the system, after taking a photo, you'll then be presented with a screen with three options:
Add another photo for this item -
This allows taking additional photos of the item to send to AI. Adding images may help the AI better explain it, although it does a good job with one image.
Add a new item -
This allows adding another item before reviewing the drafts of all the items. This might be useful in a production environment where many photos are taken by one person and they are reviewed by another later.
Review draft -
This takes you to the next step of AI scanning the image, creating a draft description, and presenting it for your review.
The draft will contain an AI-generated description plus AI-suggested fields based on the kind of item. Fields you are already using will be checked by default. You can leave the fields you are satisfied with as is by leaving them checked, or you can uncheck any fields you’d like to leave off your item.
AI-proposed fields you are not yet using in the system will remain unchecked. Check them if you'd like to add them.
On the next screen, after you click "Approve", you'll have the opportunity to actually make edits to the field values.
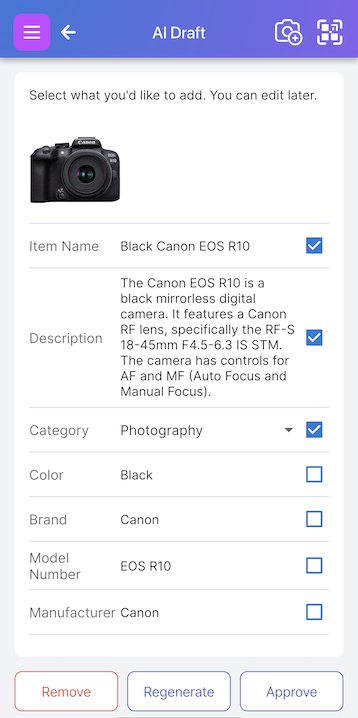
Select Remove to delete the item altogether. Select Regenerate for AI to propose new text, or select Approve to create the item.
Step 4: View and update item
You'll then see the Item page where you can edit and change the content. The QR code you scanned at the beginning of the process will be shown in the "ID" field. The Attachments section allows you to attach documents, audio recordings, notes etc.
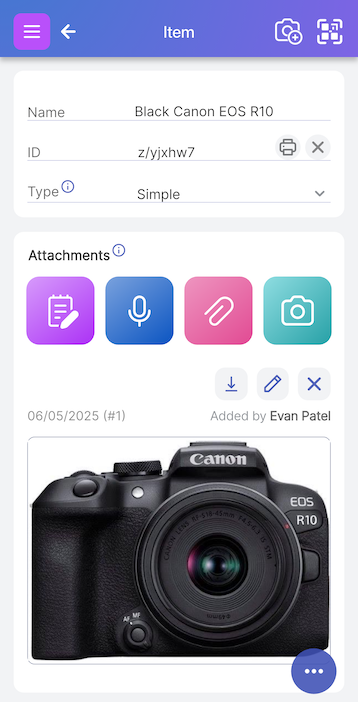
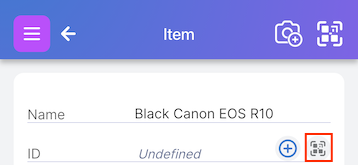
If you did not start the process by scanning a QR code, then you can click on the scan symbol to the right of the ID field to scan and attach a QR code.
Adding Multiple Items from One Image with AI
Scanlily can recognize multiple items in an image and create individual item records for each item. To do this, begin the process of creating an image by selecting either the Camera+ (if you don’t have your QR stickers yer) or Scan icon (if you have your Scanlily QR stickers) from any page:

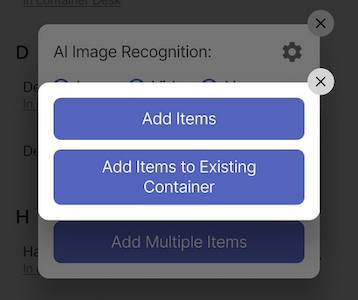
You will be presented with the AI Image Recognition popup. To use an image, check the ‘Image’ box and select "Add multiple items".
You will then be presented with further options:
Add items without a container - This will recognize multiple items from the image and place them into your item list for review.
Add items to an existing container - This will recognize multiple items and put them into a container of your choosing. This will help with organizing them and help you review them.
Create a container and add items to it - This will use your initial image (a photo you take or image you upload), recognize what kind of container it is (for example, a bookshelf), and then further recognize the items in that container and place the individual items into the container
For example, the following image taken down these paths would automatically recognize the books: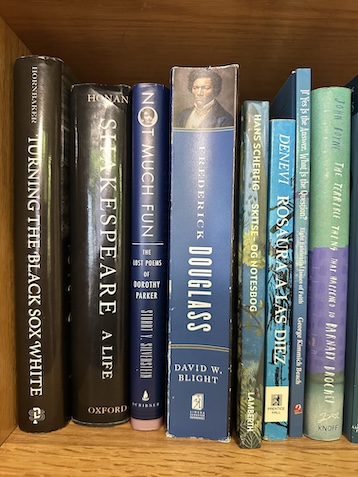
Then it would populate them as drafts into either your container or your item list page. For best results, you would then select each of the draft items one by one and approve each individually. Individually approving each would allow you to efficiently check the AI's work. Alternatively, you could approve all of them at once by selecting "Approve All".

Refine with AI
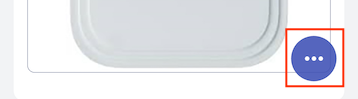
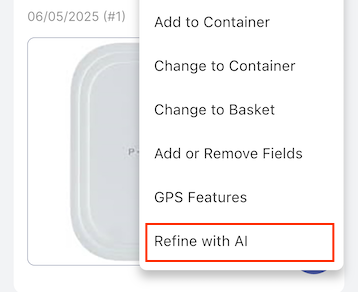
At any time on any item page that has images, you can have AI recommend changes and updates.
If you want to have AI take another try at suggesting content, then click on the bottom right menu and select "Refine with AI".