On this page
Learn how to add items via Scanlily-provided labels and AI image recognition, add items to containers, and import inventory from a spreadsheet!
a. Adding items to your inventory starting with AI Image Recognition
You can add an item using Scanlily’s AI image recognition with or without Scanlily QR labels in four simple steps:
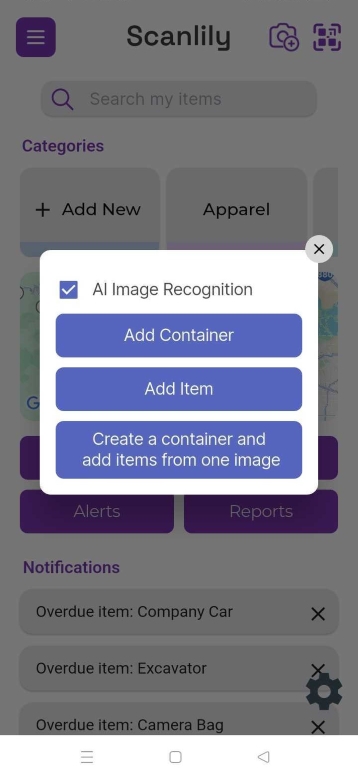
1) Open up the app on your phone or tablet and hit the camera plus button
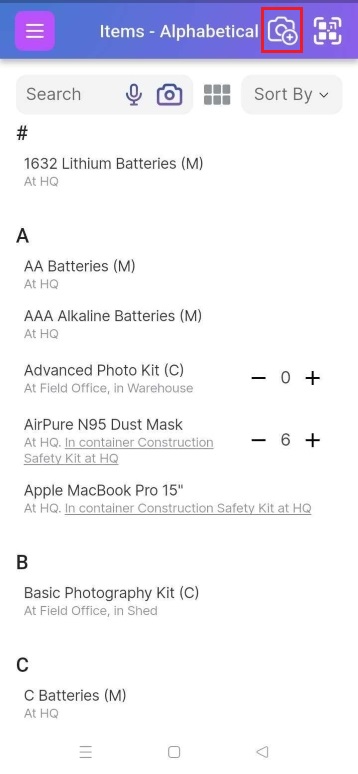
2) Click Add Item.
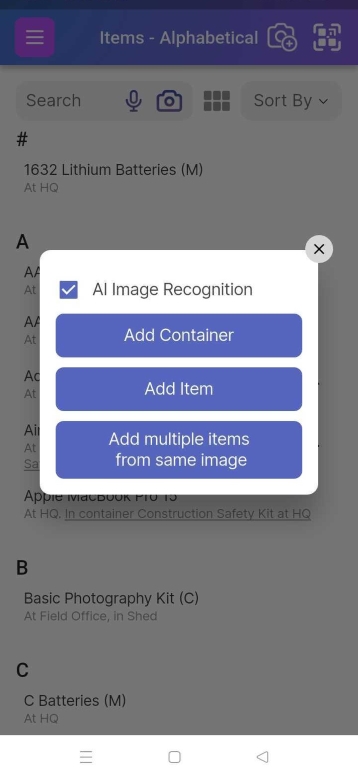
3) Snap a photo of your item and crop the image to fit. Click ‘Done’ to send the image to the AI scanner for processing. Click ‘add another photo for this item’ to add more photos of your item from other angles.

When you’re done adding photos, click “review draft.”
4) Approve or reject draft
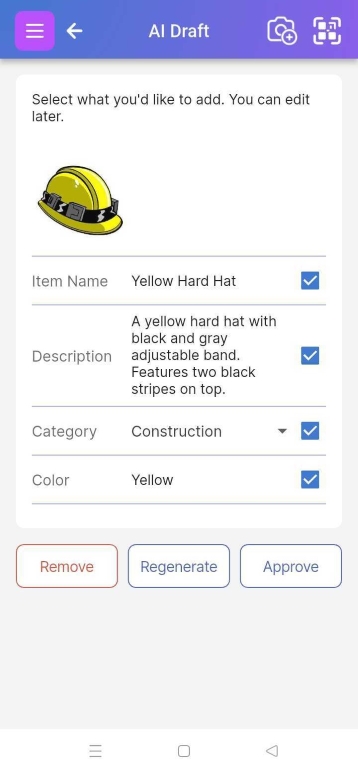
In draft mode, you can check or uncheck the AI’s suggested fields. Click ‘Approve’ to save the item’s description - don’t worry, you can manually make any edits to the AI’s description of your item. in the next step. , you can check or uncheck the AI’s suggested fields. Manually make any edits to the AI’s description of your item.
If you choose to, you can link your item’s page to a Scanlily QR code sticker by clicking on the scan icon at the top right in the ID field and then scanning the QR label. In the ‘Attachments’ bar, you can attach notes, voice recordings, photos, or other attachments to your Scanlily QR sticker.
Read more about Attachments here.
b. Adding items to your inventory starting with QR stickers
If you already have the Scanlily QR labels on hand, a faster way to add items is by scanning the QRs first.
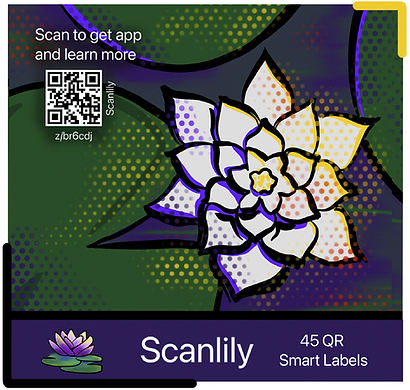
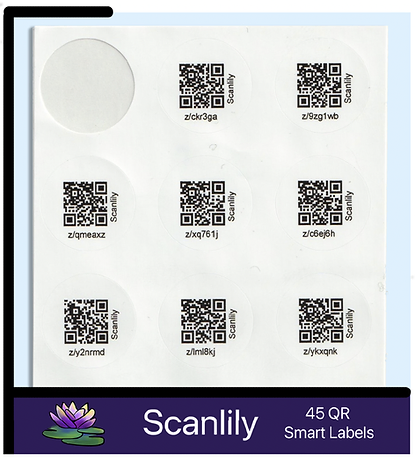
Scanlily’s QR labels make it easy to track your items, share item information, create reservations, and quickly create your inventory. Scanlily QR labels are available for purchase on Scanlily's website or online stores such as Amazon or Walmart. If you want to evaluate Scanlily before purchasing labels, you can also scan or print free test labels from this web page. These expire after two weeks but you can use these to test the system while you wait for your order from Scanlily, Amazon, Walmart or any other store.
1. To begin, stick a Scanlily QR sticker onto your item
2. Open your Scanlily app
3. Click the QR code button at the top right of any page and scan the item’s qr code.

4. If you leave the AI recognition box checked, you can check the AI image recognition box and take photos of your item for
the system to write a draft for you to review. Alternatively, you can uncheck the box, click add item and manually enter the
information about your item.
- On Image, you can take photos of your item and the AI will automatically scan and write a
draft description of the item for you to review.
- On Video, you can take one or several 1-minute videos of your items and the system will
automatically group them into a Scanlily container mirroring the physical container holding the items.
- And if you want to enter the information about your item manually, you can select None to
turn off the AI Image Recognition.
5. In the attachments bar you can add notes, voice recordings, photos, or other attachments.
6. When you scan the item’s QR again, the app will take you back to the item page. You can set bookings and reminders from this page.
c. Updating an item
After you have created the item whether via AI or not, you can then edit the item fields:
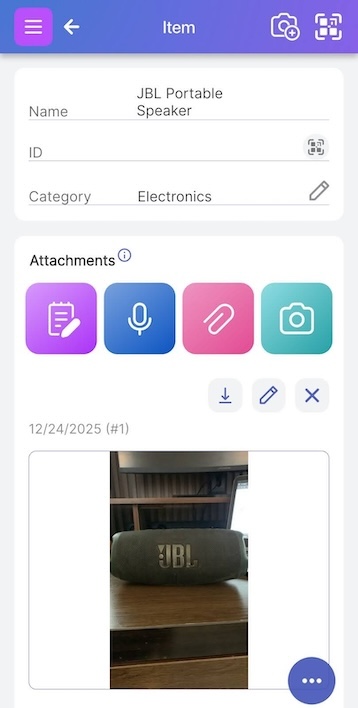
Here is an example of an item with several fields available
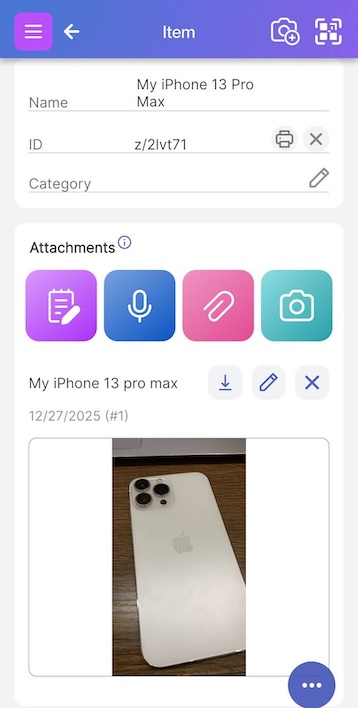
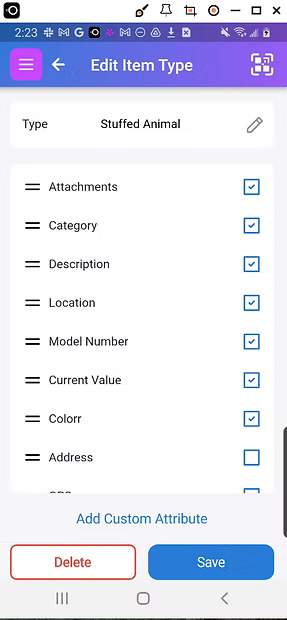
Different types of items might have different attributes. The help section Item Types shows how to customize these attributes.
Simply click the three-dot menu at the bottom and then ‘Add or remove attributes’ to tweak these item fields:
d. Anyone can then scan the QR to see information about the item
You can access the details attached to the item via the Scanlily QR stickers in three ways:
1. Scan the QR using the app's Scan button.
2. Scan the QR with the phone's camera with the app installed. It will open the app to that item.
3. Scan the QR label with your phone’s camera, without the app, and a web page will open up with the item details.
Anyone can scan the QR labels and view your public item details without needing to download the app! They can scan a QR with a phone's camera, and the item’s information will pop up in a web page on their browser. The web-page item details are view-only. If you want to change anything about the item or add items, log in via the mobile app or web app.
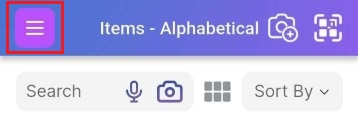
e. How to search your inventory in Scanlily
Click on the three-bar menu button at the top left and select Containers or Items to see lists of your items. You can search for an item by typing its name in the search bar.

You can use Scanlily’s AI search engine to find items in your inventory by asking questions. Type your question in the search bar, and AI will pull up the most relevant items you have.

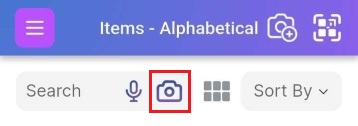
You can also search by uploading a photo of an item. Scanlily’s AI image recognition will pull up items in your inventory that look similar to your photo. This is helpful if you want to pull up the information for an object in an inventory that you don’t remember the name of.
At the top of the items page, and next to the search engine, click on the camera icon to snap and upload an image.At the top of the items page, and next to the search engine, click on the camera icon to snap and upload an image.
f. Look up the Item by searching in the app
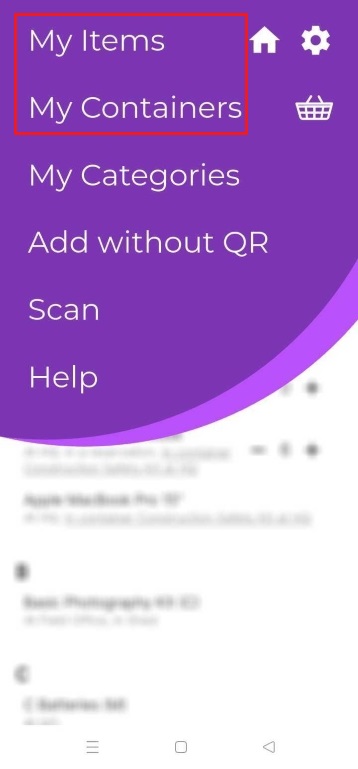
Click on the three-bar menu button at the upper left of the screen and click on ‘My Containers’ or ‘My Items’ to see lists of your items.
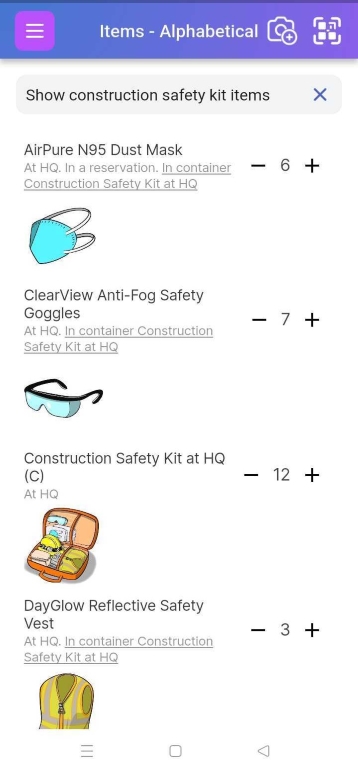
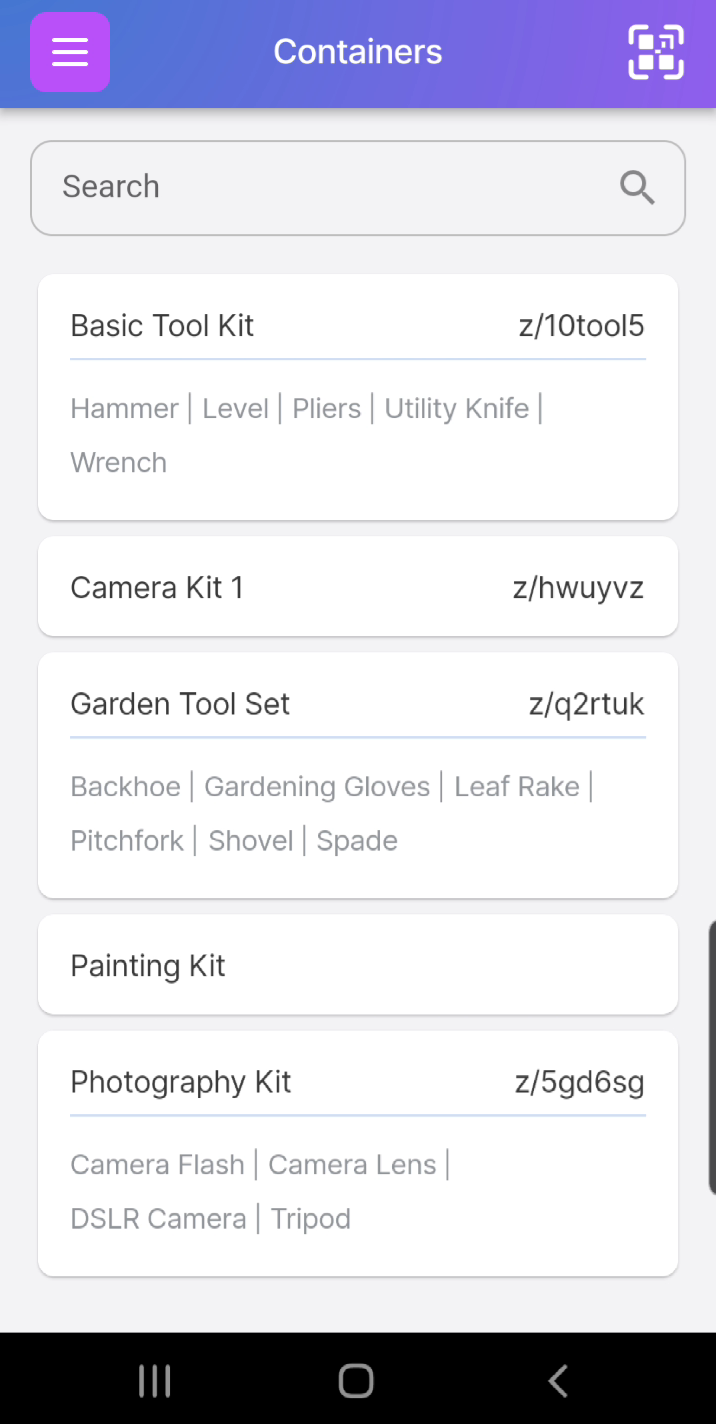
Here is a sample list of Containers
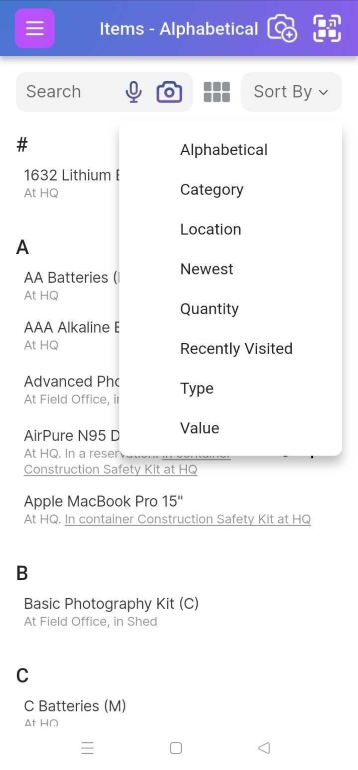
Here is a sample Item Page showing the sort options for searching and grouping items in different ways:
The item names with “(C)” in front of them are containers.
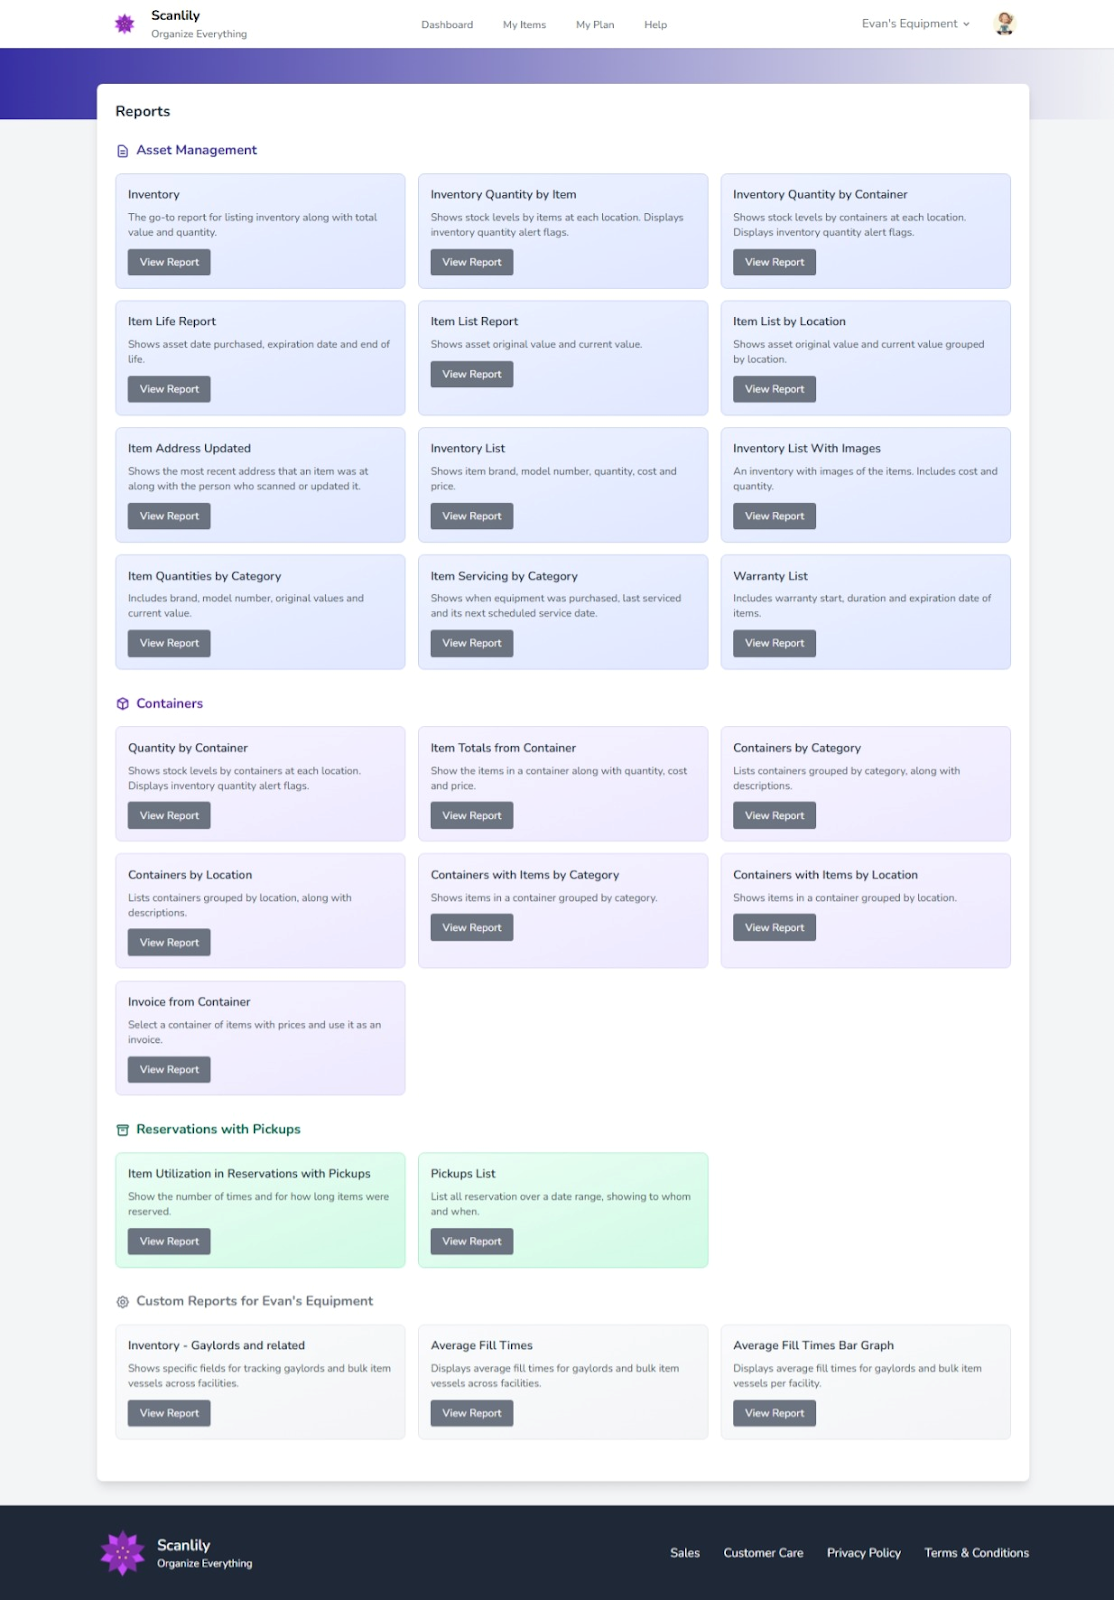
g. Look at reports of your items.
You can see a wide variety of reports about your items on the Scanlily user website! Go to https://www.scanlily.com/, click on the “Log in” button on the main menu, and log in with the same credentials you use for logging into the app. Then click on the “Reports” button at the top menu.